
Last updated October 15, 2026
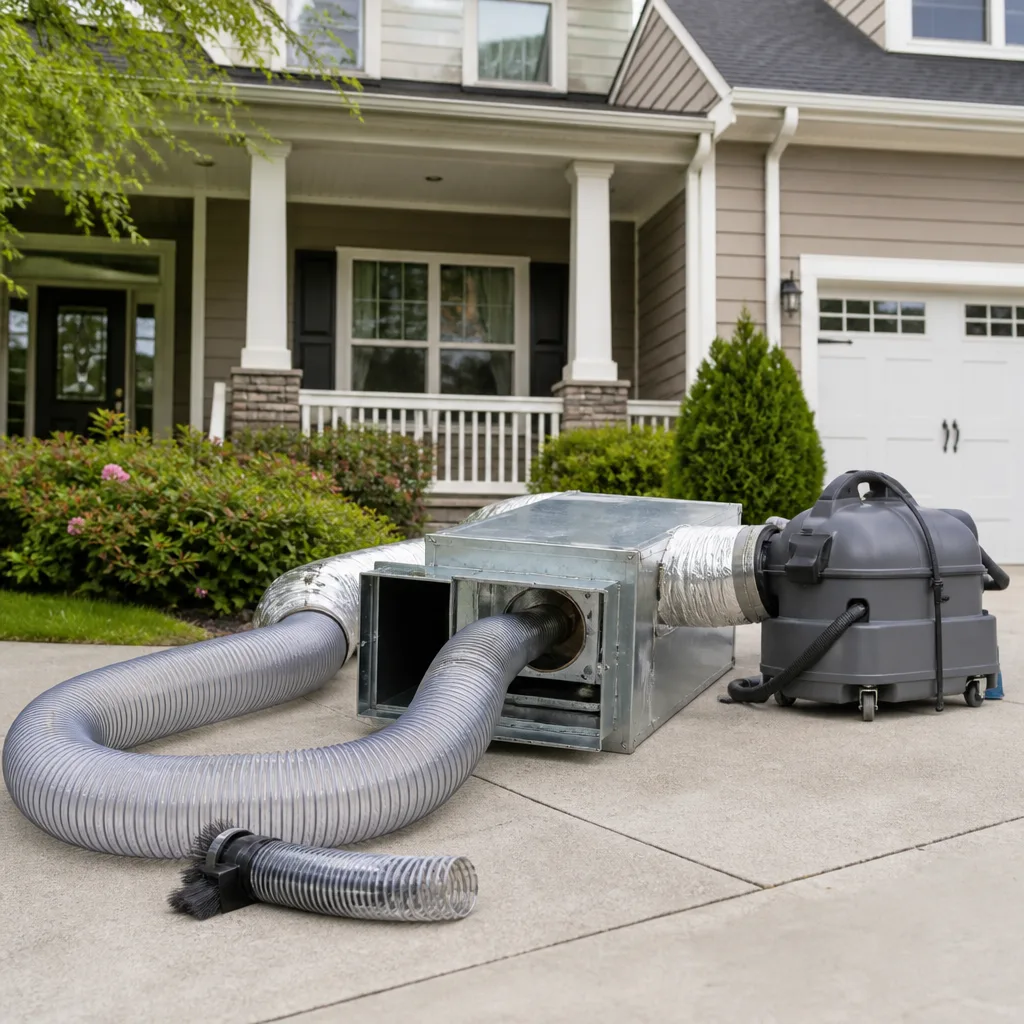 Whole-home duct cleaning
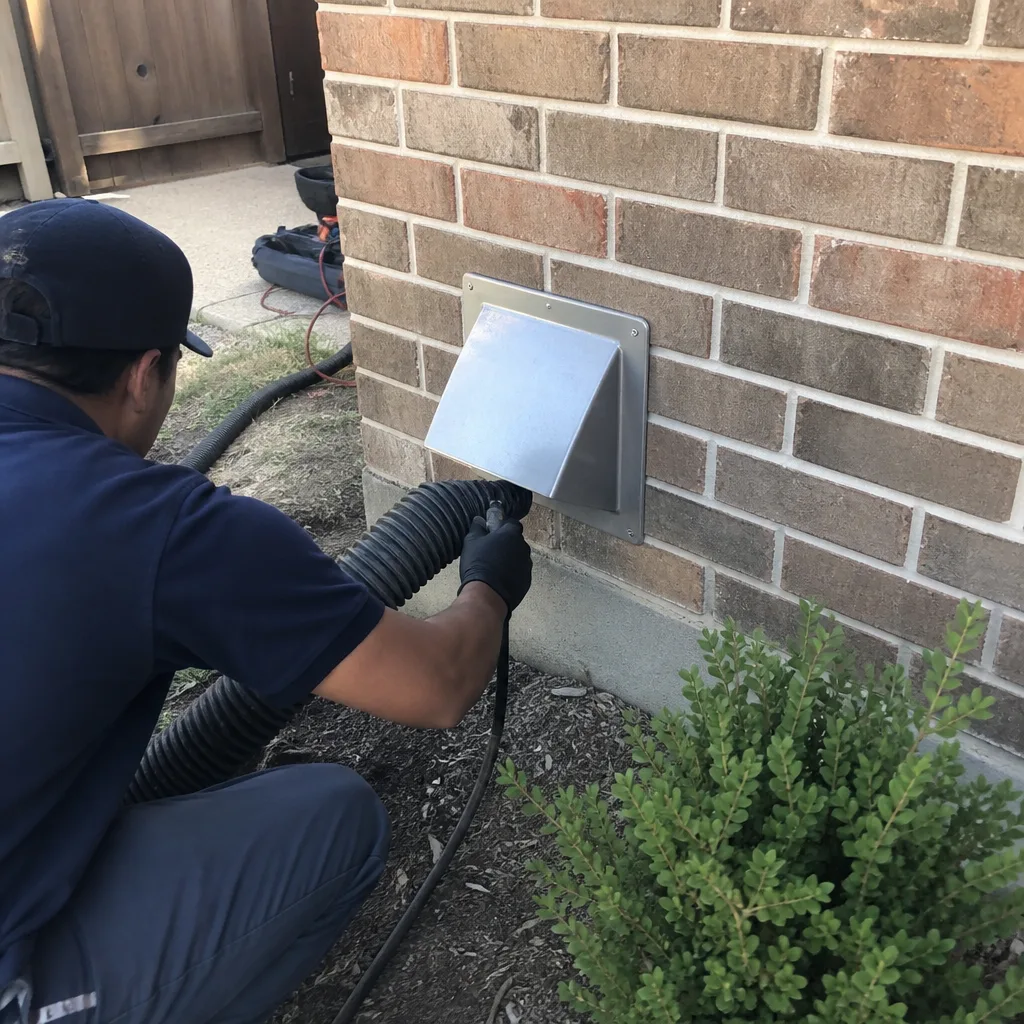
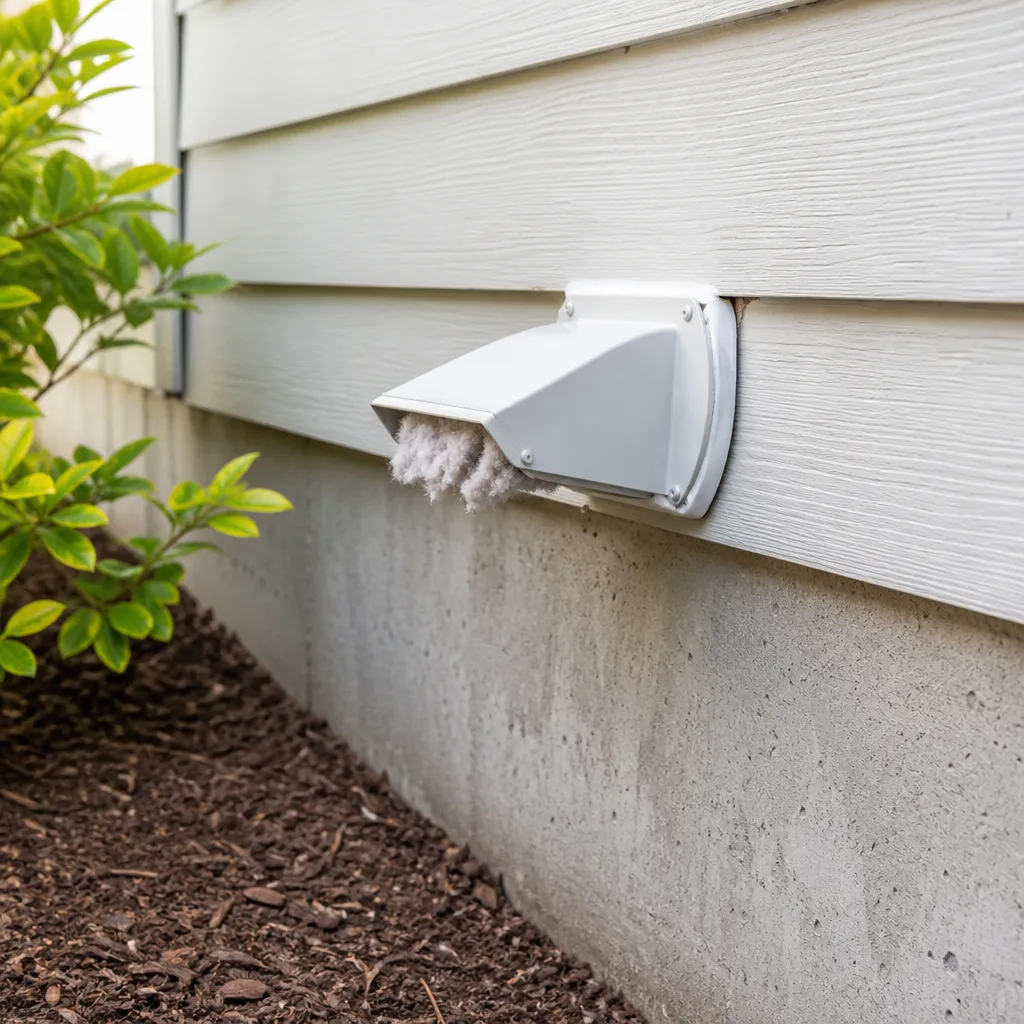 Dryer vent cleaning
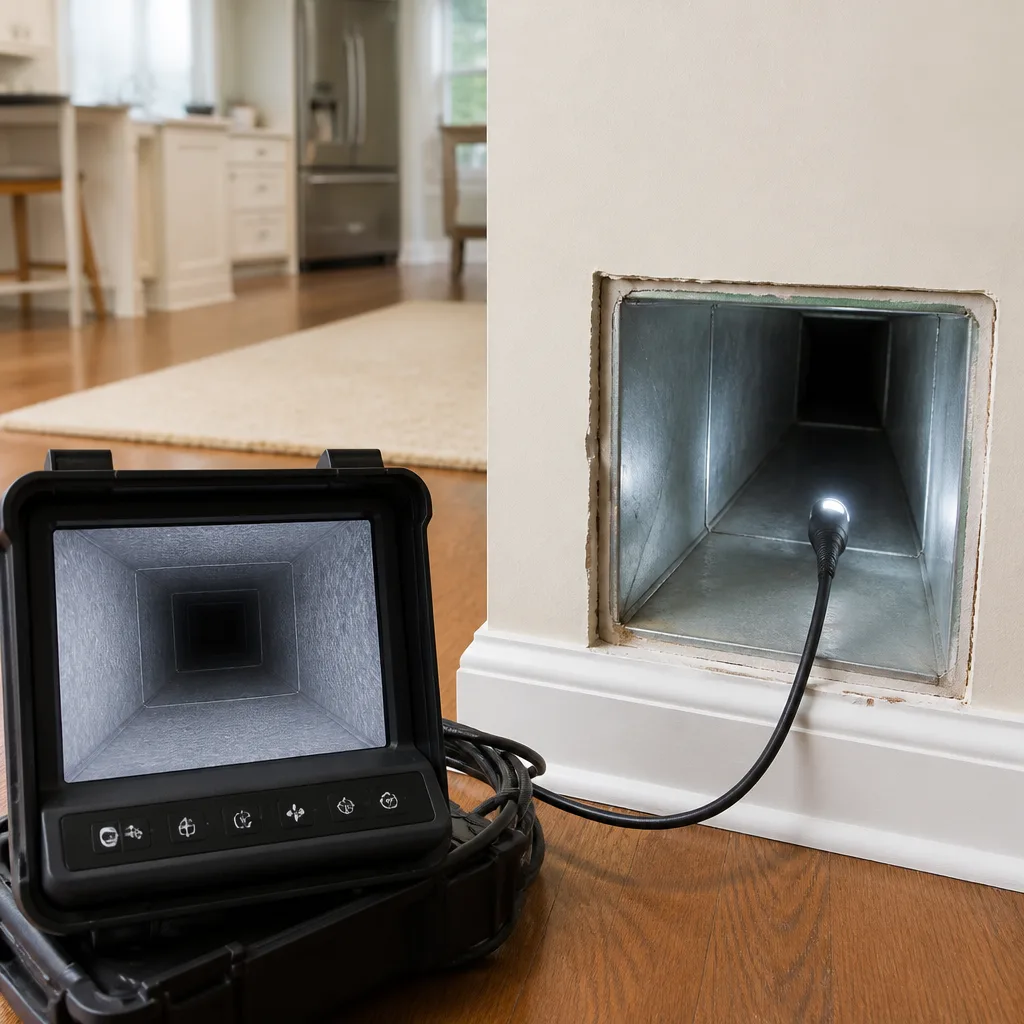 Camera inspection
 Sanitizing & deodorizing
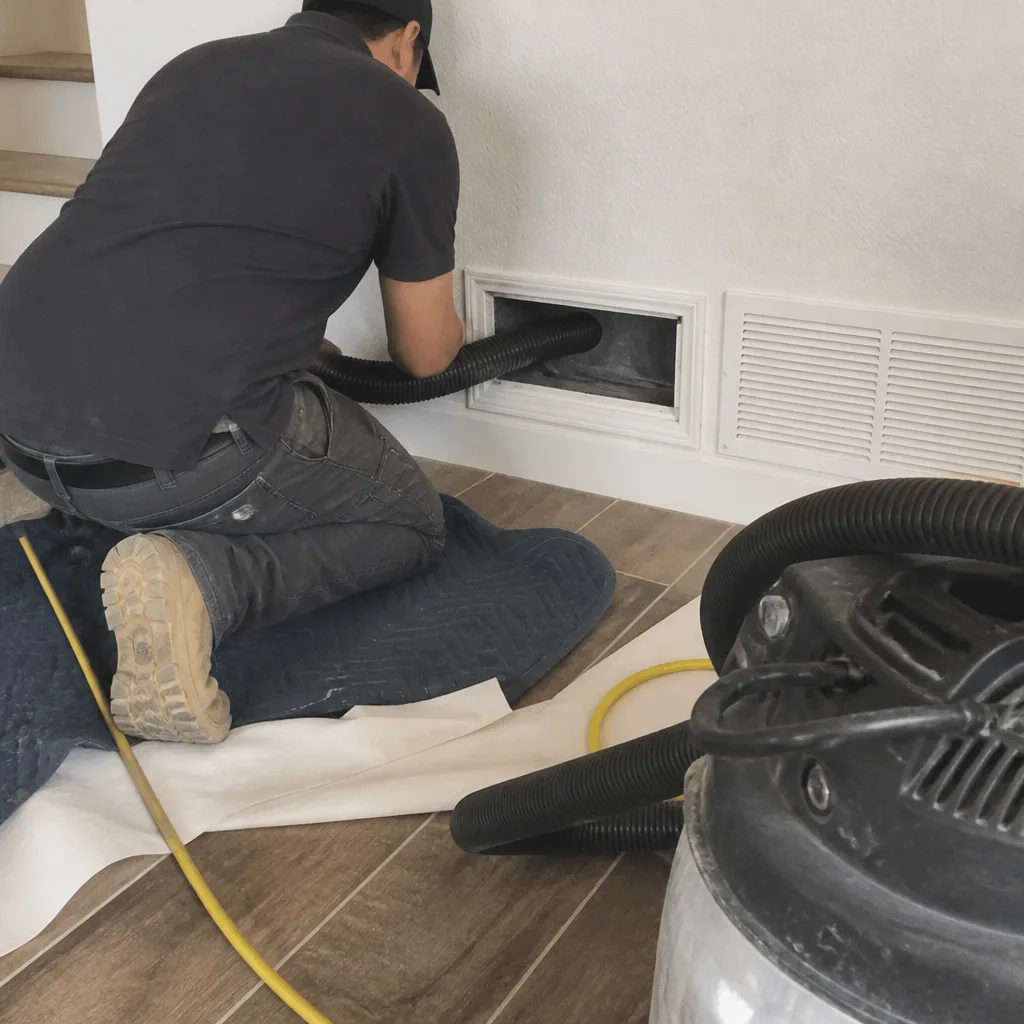
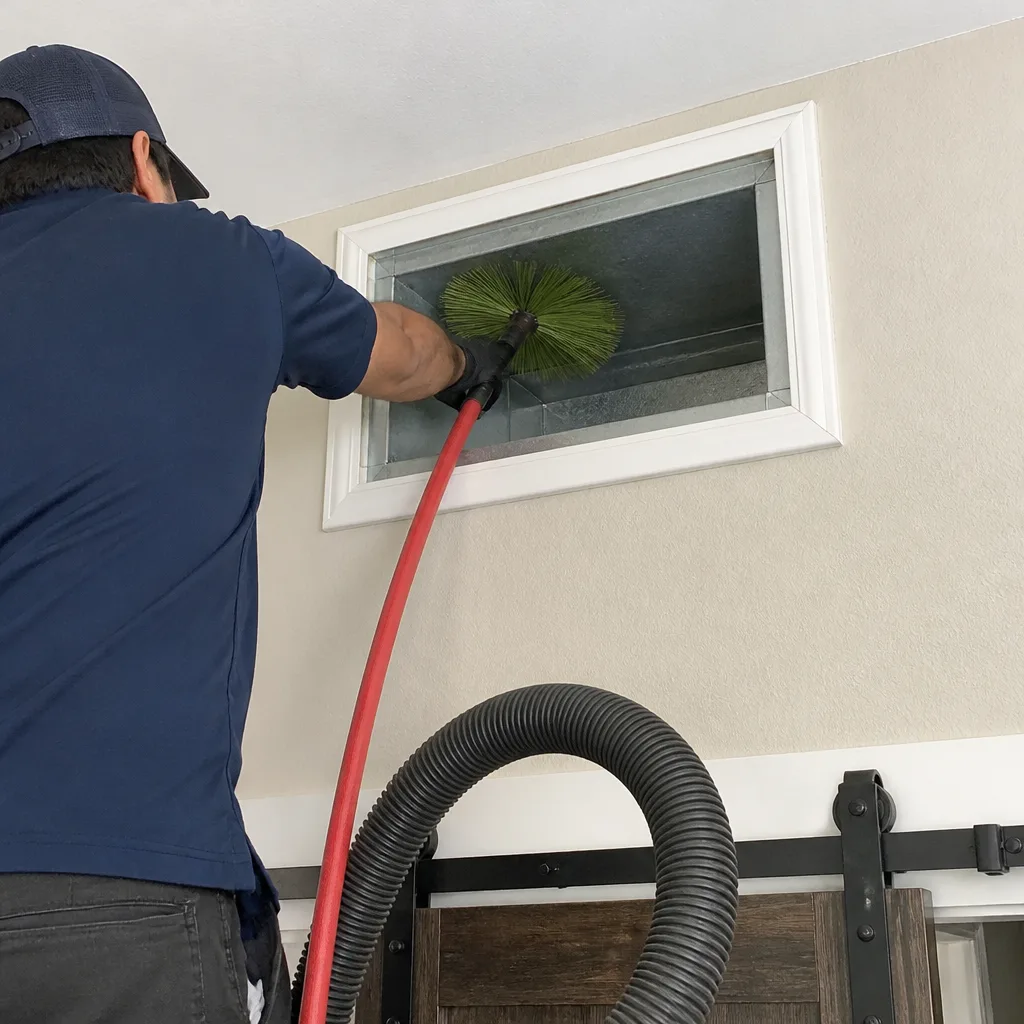
Whole-system duct and dryer vent check with before-and-after photos - you see exactly what came out of your vents
That "$99 whole-house special" is a bait ad - the real number appears once they are in your hallway, or the "clean" is a shop-vac at the register. We photograph the inside of your ducts before and after instead.
Air Duct Cleaning Maintenance Checklist for Dallas Homeowners
Every spring, after the last cedar bloom fades and before the first 95-degree day hits, Dallas homeowners do the same thing: they change the HVAC filter, close the windows, and hope the system survives another summer. What almost nobody does – and what causes a disproportionate number of our service calls – is check the condensate drain pan for standing water in late May. That one skipped item is what turns a reasonably clean duct system into a mold-distribution network within two weeks. This guide is a working checklist you run through yourself, built around Dallas’s actual calendar, not generic seasonal labels.
Styles & brands we work with
Quick Answer
The most effective air duct maintenance checklist for Dallas homeowners is calendar-driven: check the condensate drain pan for standing water in late May, replace filters after cedar season ends in February, inspect return grilles for dust streaking after spring storm season in April, run the system full-blast during the first June heat spike while listening for air leaks, and schedule professional Air Duct Cleaning every 3-5 years, or sooner if you see dust plumes from registers. Most Dallas homes run between $450 and $850 for a complete system cleaning, depending on the number of returns and the condition of the ductwork.
Table of Contents
- The Dallas Calendar: What Your Ducts Face Every Month
- Visual Inspections You Can Do Without Tools
- Filter MERV Ratings for Dallas Air Quality Days
- How to Document Your System Baseline for Year-Over-Year Comparison
- The Three Conditions That Mean It’s Time to Call a Pro
- Month-by-Month Maintenance Checklist
- Common Mistakes to Avoid
- When to Call a Professional
- Frequently Asked Questions
- The Bottom Line
The Dallas Calendar: What Your Ducts Face Every Month
Dallas doesn’t do gentle seasons. The city swings from cedar fever in January to tornadic spring storms in April to hundred-degree stretches that run from June through September, then back to sudden cold snaps in November. Each of these periods pushes different debris through your ductwork, and a maintenance schedule that ignores the local calendar is just a piece of paper.
December to February: Cedar Pollen Load
Mountain cedar pollen blows into Dallas from the Hill Country starting in December and peaks in January and February. If your outdoor HVAC unit sits near any landscaping, that pollen gets pulled into the return air stream. Inside the ducts, pollen acts like glue, binding with household dust and pet dander to form a sticky film on duct walls. This is the time of year when we see the heaviest filter loading, and it’s when you should be checking filters every two weeks instead of monthly.
What to do during cedar season: run your system fan on “auto” rather than “on” during peak pollen days, which reduces how much outdoor air cycles through the ducts. Check the filter on February 1, February 15, and March 1. If the filter is dark brown or clogged with yellow-gray dust, replace it even if it hasn’t hit the manufacturer’s stated lifespan.
March to April: Spring Storms and Pressure Changes
Dallas spring storms bring rapid barometric pressure drops, wind-driven rain, and, occasionally, hail. The pressure shifts don’t damage ducts directly, but they do expose weaknesses: loose duct joints, poorly sealed return plenums, and disconnected flex runs. When wind drives rain into attic spaces or crawl areas, any gaps in the ductwork become entry points for moisture, which then feeds microbial growth inside the ducts.
After any severe storm line passes through Dallas, take ten minutes to walk your attic if it’s accessible. Look for flex duct that has sagged or separated at connection points. Check for dark staining on duct insulation, which indicates moisture intrusion. If you find any, mark it and schedule a professional repair before summer heat turns that damp spot into a mold colony.
May to September: The Humidity and Heat Gauntlet
The real test of any Dallas duct system runs from late May through September. Outdoor temperatures push past 95 degrees regularly, and humidity stays high. Your air conditioner runs for hours every day, pulling warm, moist air across the evaporator coil. The coil condenses water out of that air, and that water drips into the condensate drain pan below the coil. If the pan is cracked, the drain line is clogged, or the pan is tilted, water stands and breeds mold within days.
This is the single most important pre-summer check you can do. In late May, before the first true heat spike, locate your indoor air handler. If you can safely access the area around it, check the drain pan for standing water. If the pan is dry and the drain line is clear, you’re good. If there’s water, don’t wait. Standing water in the pan means mold spores are about to get distributed through every room the system serves.
October to November: Post-Summer Debris Accumulation
By the time October rolls around, your ducts have spent four months moving cooled air through a temperature differential that encourages condensation at every small leak point. Dust that was dry and loose in June is now damp and stuck. Dead insects, construction dust from summer remodels, and the general grime of daily living have settled into the return side of the system. This is the smartest time of year for a professional cleaning in Dallas, because the system gets a fresh start before winter heating season and before holiday guests arrive. For a deeper look at when to act, see our Air Duct Cleaning Warning Signs: A Dallas Homeowner’s Reference Guide.
June to November: Peak AQI Days and Particulate Loading
Dallas sits in a region where ozone and particulate matter levels regularly exceed healthy thresholds during summer months. On high Air Quality Index (AQI) days, your HVAC system is the primary filtration defense for your indoor air. If your filter is rated too low for the particle load, or if it’s been installed backwards, your ducts become the weak link in that defense. More on MERV ratings below.
Visual Inspections You Can Do Without Tools
You don’t need a borescope or a professional certification to spot potential duct problems. You need a flashlight, a phone camera, and five minutes per inspection point. Here’s what to look at, and what each observation actually tells you.
Return Grilles: Dust Streaking
Hold your flashlight at a low angle against the return grille, the larger vent where air gets pulled into the system. If you see dark, greasy streaks radiating from the grille slats, that’s a sign of bypass air: air being pulled around the filter instead of through it. The streaking is dust that’s been deposited by air moving through gaps at the filter’s edge. This means unfiltered air is getting into your ducts, and the filter isn’t seated correctly. Fix this by ensuring the filter is the correct size for the filter slot and that there are no gaps around the frame.
Supply Registers: Dust Plumes and Discoloration
Look at the ceiling or wall around each supply register, the smaller vents where conditioned air blows out. If you see gray or brown staining on the wall or ceiling surface around the register, that’s air leakage at the register boot. Conditioned air is escaping around the edge of the register box, carrying fine dust with it. Inside the register, use your flashlight to look at the first few inches of duct. In Dallas homes, it’s normal to see a thin, even layer of dust from years of use. What’s not normal is thick, fuzzy accumulation that looks like dryer lint, or visible debris that’s sitting loose inside the duct.
The Filter Itself: Loading Patterns
When you pull your filter, look at how the dust is distributed across the surface. A uniform coating of gray dust means the filter is doing its job and it’s simply time to replace it. A filter with dark, damp-looking patches in one corner while the rest is clean means air is channeling through that spot, usually because the filter is too small, has collapsed, or was installed with a gap. It also means most of your air is bypassing filtration entirely.
The Outdoor Unit: Debris and Coil Condition
Walk outside and look at your condenser unit. Dallas yards produce leaves, grass clippings, cottonwood fluff, and construction debris. If the fins on the unit are matted with debris, the system has to work harder to reject heat, which means longer run times, which means more air moving through your ducts. Clear away any debris within two feet of the unit, and if the fins are visibly caked, schedule a coil cleaning. A dirty coil shortens the life of the entire system and forces more unfiltered air through your ductwork.
Filter MERV Ratings for Dallas Air Quality Days
Most Dallas homes are built with a 1-inch filter slot and a default MERV 8 filter, because that’s what the builder installed and what the homeowner keeps buying at the hardware store. MERV 8 catches dust, pollen, and some mold spores, but it lets through a substantial percentage of the fine particulate that dominates Dallas’s high-AQI summer days. The tradeoff is airflow: higher MERV filters are more restrictive, and if your system wasn’t designed for the added resistance, you can actually reduce system performance and increase energy use.
Here’s the practical guidance for Dallas homeowners:
- MERV 8: The minimum you should run. Catches dust, pet dander, and larger pollen. Fine for mild months and homes without pets or allergies.
- MERV 11: The sweet spot for most Dallas homes during cedar season (December through February) and summer AQI spikes (June through September). Catches finer pollen and a meaningful portion of airborne particulate from wildfire smoke and urban ozone chemistry.
- MERV 13: The highest you should run in a 1-inch filter slot without risking airflow restriction on older systems. Recommended for households with allergy or asthma sufferers, but check your system’s static pressure first if you have an older unit. On a 2005-era Dallas air handler, MERV 13 in a 1-inch slot can cut airflow enough to ice the coil in August.
If you want MERV 13-level filtration without starving your system, the answer is a media cabinet or an electronic air cleaner. Honeywell and Aprilaire both make 4-inch media filter cabinets that fit most Dallas air handlers and provide MERV 11-13 filtration with less pressure drop than a 1-inch filter of the same rating. We install and can recommend the right option for your specific system, but no matter what you run, check the filter more often during cedar season and summer AQI days. A loaded filter is more restrictive than any MERV bump.
How to Document Your System Baseline for Year-Over-Year Comparison
The biggest challenge in duct maintenance is knowing what “normal” looks like. Without a baseline, you can’t tell whether the dust in your registers is from six months of accumulation or six years. Here’s how to create a documentation system that gives you objective before-and-after data.
What you need: your phone camera, a consistent time of day, and a simple naming convention for your photos.
Step 1: Photograph every return grille and supply register in the house. Remove the register cover for the supply-side shots. Hold the phone at a consistent distance, about six inches from the opening, and aim the flash into the duct. Capture the first visible bend or straight run of duct.
Step 2: Photograph the filter in place, then the filter after removal. Lay the used filter flat on the garage floor and take a photo in natural light. Note the date and filter MERV rating on the filter’s frame before you discard it.
Step 3: Photograph the air handler area, including the condensate drain pan, drain line, and any visible duct connections. If the pan is accessible, get a clear shot of the bottom surface. This is your mold risk baseline.
Step 4: Store the photos in a dedicated album on your phone or cloud storage, labeled with the date. When you check the same spots next season, compare side by side. If the new photo shows noticeably more dust, streaking, or debris than the baseline, you have objective evidence that the system is loading faster than it should.
This documentation also helps you verify professional work. After Air Duct Cleaning in Dallas, you should see a clear visual difference at every register. If a technician claims the job is done but your post-service photos look identical to your pre-service baseline, you have grounds to invoke a service guarantee. We encourage every customer to keep these records precisely because it makes our work accountable.
The Three Conditions That Mean It’s Time to Call a Pro
This checklist covers what you can see, check, and monitor yourself. But there are three specific conditions that mean a task has crossed from routine maintenance into professional-service territory. Continuing to DIY past these points can make the problem worse and, in some cases, create health and safety risks.
Condition 1: Visible mold or standing water in the ductwork or drain pan. If you open a register and see anything that looks like mold, or if your condensate pan has standing water that doesn’t drain, stop. Mold in ductwork requires professional remediation with the right containment and cleaning protocols. Running the system spreads spores throughout the house. This is not a filter problem and it is not something bleach and a rag will fix.
Condition 2: Ductwork that’s disconnected, collapsed, or badly sagged. If you go into the attic and find a flex duct that’s fallen off its connection, or a section of hard pipe that’s separated, the air you’re paying to condition is being dumped into the attic. Reconnecting it might seem simple, but if it separated once, the underlying cause – poor support, wrong materials, or bad original installation – will separate it again. A professional repair addresses the support and sealing, not just the reconnection.
Condition 3: Evidence of pests or rodents in the ductwork. If you hear scratching, find droppings, or see nesting material inside a duct, you have a contamination problem. Rodent droppings in HVAC ducts are a health hazard, and the cleanup requires more than just vacuuming. The ducts need to be cleaned, sanitized, and the entry point sealed. This is squarely in professional territory.
In our experience serving Dallas homeowners, these three conditions account for the vast majority of the serious problems we find during routine cleanings. Homeowners who catch them early save thousands compared to the ones who wait until the system fails in August.
Month-by-Month Maintenance Checklist
This is the working checklist. Print it, save it, or screenshot it. Each item is tied to a specific Dallas condition, and each is something you can observe or do without specialized tools.
January
- Check the filter every two weeks during cedar season. If it’s dark or clogged before its rated lifespan, replace it.
- Look for the first cedar pollen deposits on return grilles. If you see yellow-gray dust accumulating on the grille face, consider stepping up to MERV 11 for the next six weeks.
- Inspect the outdoor unit for dead leaves and winter debris that’s piled against the coil fins.
February
- Change the filter even if it looks okay. Cedar season has pushed more through it than you realize.
- Remove return grilles and check the filter slot for dust bypass around the edges. Use a damp cloth to wipe down the grille and slot.
- Take baseline photos of registers and returns if you haven’t already. This is your pre-spring reference point.
March
- After any severe spring storm, check the attic for flex duct sag or separation.
- Look for water staining on duct insulation, especially at connection points.
- If you see moisture or standing water anywhere in the system, schedule a professional inspection before summer.
April
- Inspect supply registers for dust streaking or discoloration around the surrounding wall or ceiling. This signals air leakage at the boot.
- Check that all register covers are secured and that damper controls move freely if you have adjustable registers.
- Photograph any areas of concern and compare to your February baseline.
May
- This is the critical month. Locate your indoor air handler and check the condensate drain pan for standing water.
- If possible, pour a small amount of water into the condensate drain line to confirm it’s flowing. If it backs up, you have a clog. Schedule a drain line clearing before the first heat wave.
- Verify the system is cooling properly by running it for 20 minutes and checking register temperatures. A properly functioning system should deliver air that feels clearly cool, not lukewarm.
June
- During the first 100-degree stretch, listen at every register for a whistling or hissing sound. That’s the sound of air escaping through leaks.
- Check the filter mid-month. Early summer is when the system starts running continuously, and loading accelerates.
- If you switched to MERV 11 for cedar season, you can stay there through summer or drop back to MERV 8 for maximum airflow if your system struggles to keep up.
July
- On high AQI days, run the fan on “circulate” or “on” during the worst hours to maximize filtration.
- Check the outdoor unit for grass clippings and cottonwood fluff. Dallas cottonwoods shed heavily in early summer, and the fluff mats the condenser coil quickly.
- Verify the drain line is still flowing by checking for a steady drip at the condensate drain outlet during cooling cycles.
August
- This is peak load. Check the filter every three weeks, even if it’s rated for three months.
- Look at the condensate pan one more time. August is when clogs that started in May finally overflow.
- If humidity in the house feels high despite the AC running, schedule a professional evaluation. High indoor humidity in August often signals an air leak or drainage issue in the system.
September
- As temperatures start to moderate, complete a full visual inspection of all registers and returns.
- Compare your current photos to your February baseline. Note any changes in dust accumulation, streaking, or discoloration.
- If the comparison shows meaningful buildup, start considering a professional cleaning for October or November.
October
- This is the ideal month for professional duct cleaning in Dallas. The summer load is done, the winter heating load hasn’t started, and schedules are more flexible.
- Before any cleaning, remove and inspect the filter. This is your best single indicator of what’s in the ducts.
- If you skipped the May and August pan checks, do a final one now. Winter heating doesn’t produce condensate, so any water in the pan at this point has been there since cooling season, which means mold risk.
November
- Change the filter before heating season starts. The dust load from summer is done, and you want a fresh filter for the return of dry indoor air.
- If you had professional cleaning done in October, photograph the clean registers. This becomes your baseline for next year’s comparison.
- Check the outdoor unit one final time before colder weather, clearing any autumn leaves that have accumulated.
December
- Cedar season starts. If you run MERV 8 in winter, consider switching to MERV 11 now through February.
- Verify the thermostat is set correctly and that the system is cycling normally. Short cycling (frequent on/off) is a sign of airflow restriction or an oversized system.
- Start the annual documentation cycle over with a new set of baseline photos.
Common Mistakes to Avoid
- Replacing the filter only when the thermostat reminds you. Thermostat reminders are based on time, not on actual filter loading. During Dallas cedar season, a filter can clog in three weeks. Check it visually, not just on schedule.
- Using the cheapest 1-inch fiberglass filter available. These filters catch only the largest particles and let fine dust, pollen, and mold spores pass into the ductwork. A MERV 8 pleated filter costs a few dollars more and does the job the filter is actually for.
- Assuming the previous owner or builder maintained the ducts. Most Dallas homes have never had a professional duct cleaning. If you bought an existing home and don’t have documentation of prior cleaning, assume the ducts have years of accumulated debris.
- Closing supply registers in unused rooms to save energy. In most Dallas systems, closing registers increases static pressure and forces air through duct leaks rather than saving energy. It also creates pressure imbalances that pull unfiltered air into the return side.
- Ignoring the condensate drain until water appears. By the time you see water around the air handler, the clog has been building for weeks or months. The pan check in May is preventative; the visible water in August is the failure point.
- Using duct tape to seal duct leaks. Standard duct tape degrades quickly in Dallas attic heat, where summer temperatures can exceed 140 degrees. Proper sealing uses mastic or aluminum tape designed for HVAC applications. Duct tape (the gray cloth kind) fails within a season.
- Skipping the outdoor unit because it’s “just the AC.” The outdoor condenser and the ducts are the same system. A dirty coil forces longer run times, which pushes more air through dirty ducts, which loads your filter faster, which restricts airflow, which makes the coil work harder. It’s a circle, and it starts outside.
When to Call a Professional
Some things on this checklist are well within a homeowner’s reach. Checking a filter, photographing a register, looking at a drain pan. But when you find standing water in the pan, visible mold, disconnected ducts, or rodent evidence, you’re past DIY territory. Those are the moments when the cost of waiting exceeds the cost of a service call. A professional can diagnose the whole system, not just the symptom you spotted, and the right company will give you a written price before any work starts.
If you’re in Dallas and something on this checklist doesn’t look right, Kestrel Air Duct Dallas home offers free estimates in Dallas. Call (361) 314-5449 and we’ll tell you what we see, what it costs, and what we recommend. No pressure, no door-step price changes.
Frequently Asked Questions
Every 3 to 5 years for most Dallas homes, with the shorter interval for homes with pets, smokers, recent remodeling, or allergy sufferers. Dallas’s climate pushes debris through ducts faster than drier regions because summer humidity causes dust to stick to duct walls instead of staying loose and getting caught by the filter. Homes near construction sites or major roadways may need cleaning every 2 to 3 years. The best single indicator is your baseline photo comparison: if visible accumulation at registers is clearly worse year over year, the ducts are loading.
Most complete air duct cleaning jobs in Dallas run between $450 and $850 for a typical single-family home with one HVAC system. The range depends on the number of supply and return vents, the accessibility of the air handler, and the condition of the ductwork. You should be quoted a single flat price for the entire system before work begins, not a per-vent rate that can balloon once the technician is on site. Call (361) 314-5449 for a specific quote on your system – the estimate is free and the price won’t change at the door.
Cheaper quotes usually come from companies that use portable vacuum equipment instead of truck-mounted negative-air systems, skip the brush agitation step, or plan to upsell you once they’re inside. A legitimate duct cleaning involves mechanical agitation of the duct walls with a rotary brush system and simultaneous negative-pressure extraction that pulls the loosened debris out of the system. If a company quotes significantly less than $400 for a full system, they’re almost certainly not doing both steps. The low price gets them in the door, and the final invoice is rarely what you were quoted. Call (361) 314-5449 to get an exact price for your system before you book anything.
You should receive before-and-after photos of your own ductwork, taken at the same register locations. A legitimate company will show you the interior of the returns and supplies before cleaning and after cleaning, so you can see the difference with your own eyes. You should also be able to see the debris that was extracted, either in the collection canister of the negative-air unit or in a summary of what was removed. This is why we document everything and encourage homeowners to take their own baseline photos before service. If a company can’t show you evidence the work was done, assume it wasn’t. For a free estimate with documentation standards included in writing, call (361) 314-5449.
Every 3 to 5 years for most homes, but not because the ducts get “dirty” the way a floor does. The real reasons are the slow accumulation of fine dust that bonds to duct walls in Dallas humidity, the buildup of construction debris and drywall dust from remodeling, and the occasional pest or moisture intrusion that requires more than just vacuuming. If your home is 10 years old and has never had a cleaning, it needs one. If you can’t remember the last cleaning, it needs one. Dryer Vent Cleaning in Dallas has its own schedule – typically every 1 to 2 years – and should be handled separately from the duct system.
You can vacuum the visible part of your registers and returns, change filters diligently, and keep the system’s immediate surroundings clean. What you can’t do from the register opening is reach the full length of the duct runs, agitate the debris stuck to the duct walls, or provide negative-pressure extraction that pulls loosened debris to a collection point rather than blowing it into the room. Professional equipment like the Nikro negative-air units and Rotobrush agitation systems we use on every job exists specifically for this reason. DIY attempts with a shop vac typically push debris deeper into the system and disturb settled dust without removing it. The honest answer: if your ducts truly need cleaning, you need professional equipment. Call (361) 314-5449 for a free estimate and a written price that covers the full system.
The Bottom Line
Dallas duct maintenance isn’t a mystery, and it isn’t a marketing slogan. It’s a calendar-driven set of observations tied to the city’s actual conditions: cedar pollen in winter, storms in spring, humidity and heat in summer, debris accumulation in fall. The five minutes you spend checking the condensate pan in late May matters more than any product you can buy. The filter you change in February, before it looks dirty, matters more than any service you could schedule. And when the checklist turns up something you can’t fix yourself – standing water, disconnected ducts, visible mold – the only responsible move is to call someone who will give you a written price and stand behind the work. In Dallas, that’s us.
Written by Dale Whitmore, Owner at Kestrel Air Duct Dallas, serving Dallas since 2004.
See the difference
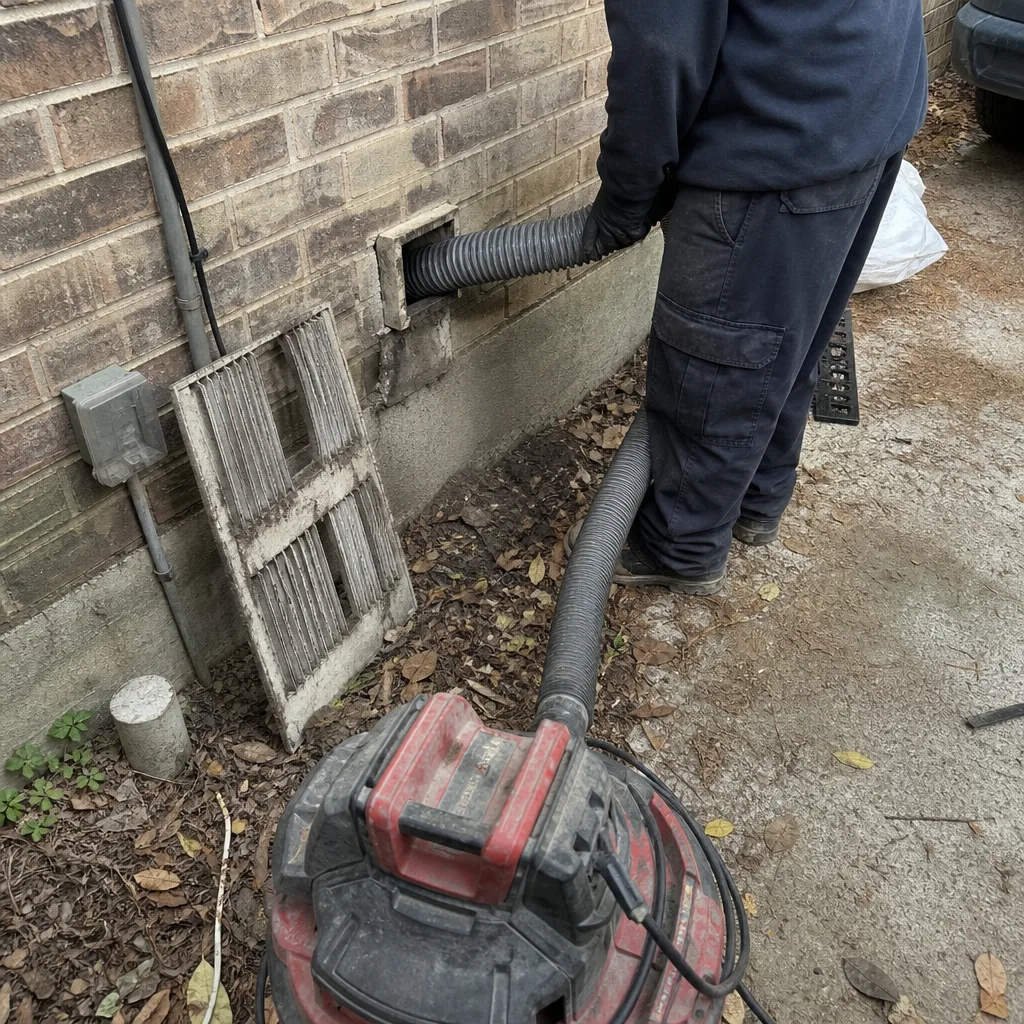 Before
 After
After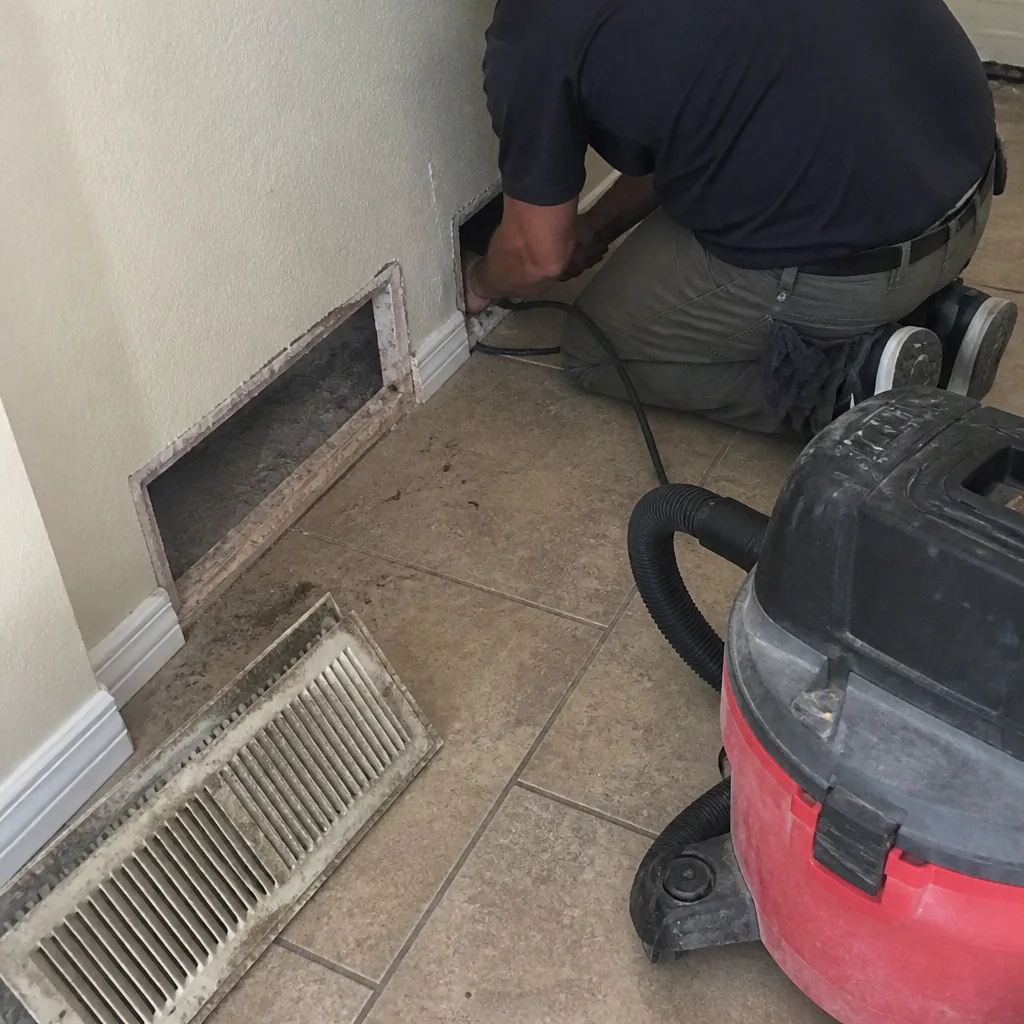 Before
 After
After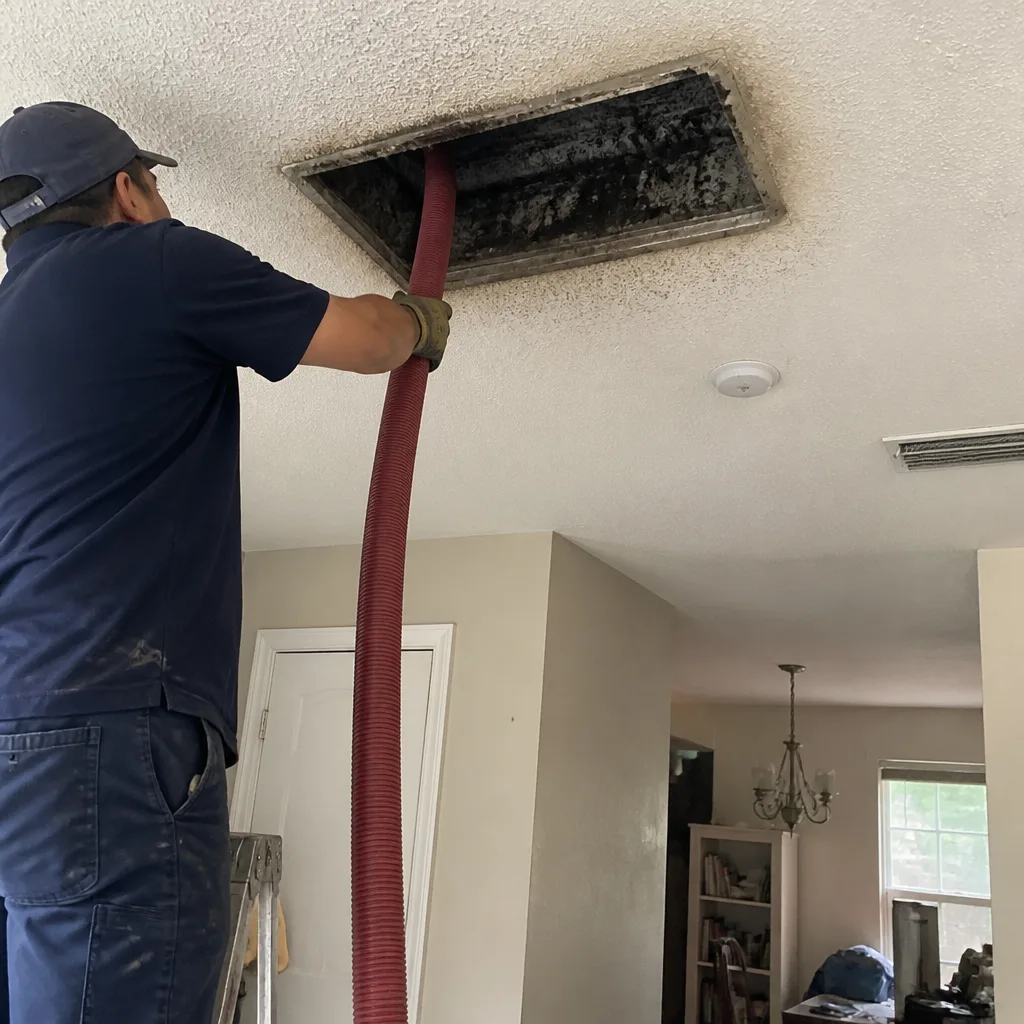 Before
 After
After